How does it work?
MARRIAGE BETWEEN CAMERA AND FREELENSING CINE ®
- Choose the appropriate camera mount (ARRI ALEXA MINI, MINI LF, 35, SONY VENICE 1&2, RED V-RAPTOR XL, V-RAPTOR & DSMC2)
- Fix the corresponding camera mount to the bellows
- Prepare de camera at the standard 19mm height —> The camera must have the necessary Risers to reach the 19mm height of the 19mm studio, and the Dovetail must be centered
- Remove the PL or LPL mount that is placed on the camera body
- Insert the camera into the Freelensing Cine® or the other way around —> use the 19mm rods
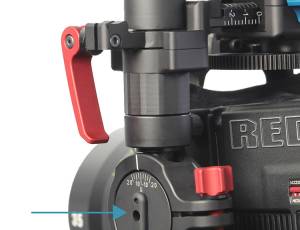
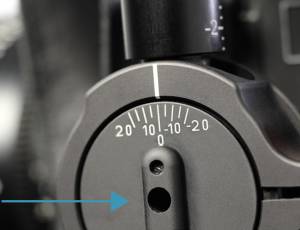
- Align the Freelensing Cine® to the sensor of the camera —> look through the holes on both side arms of the Freelensing Cine® and make sure they match the mark of the sensor
7. Place the camera mount (already installed in the bellows of the Freelensing Cine®) —> align it with the screws already inserted and tighten them in each of the corresponding holes of the camera
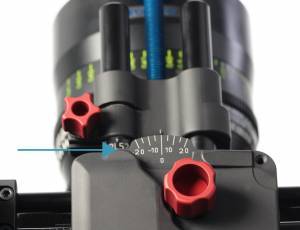
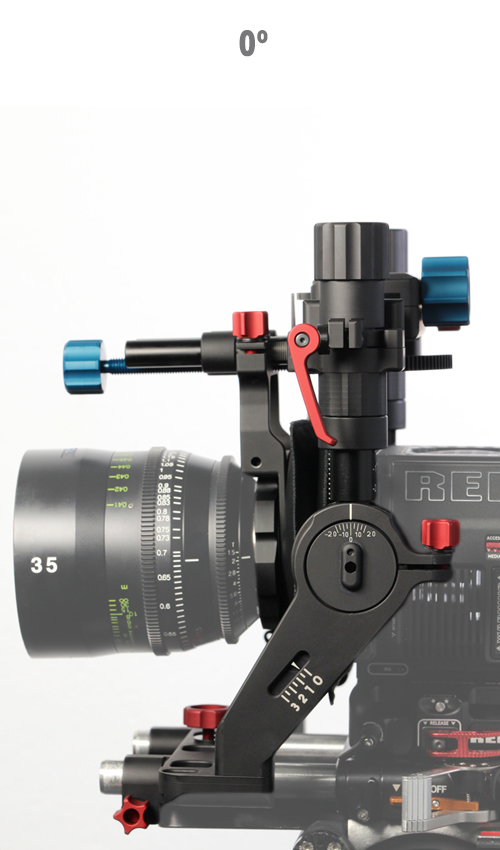
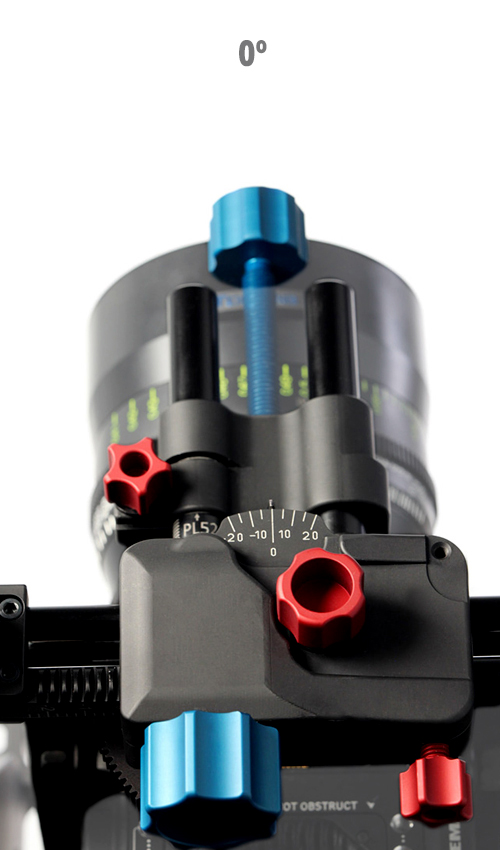
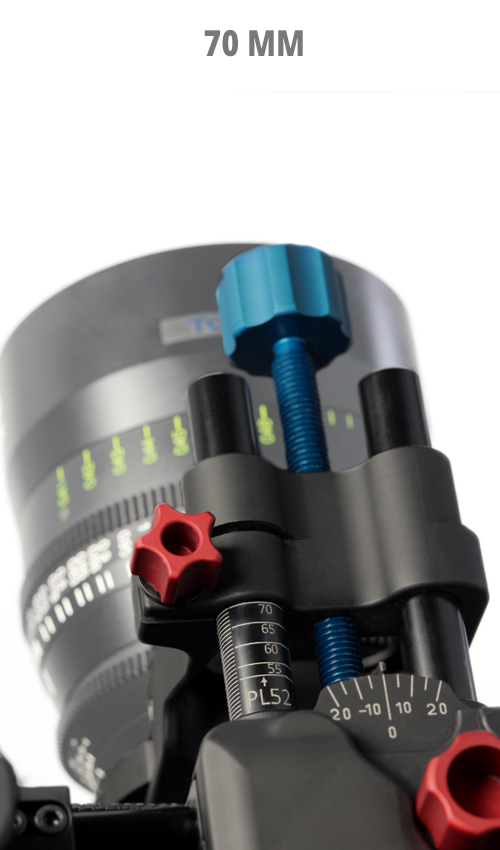
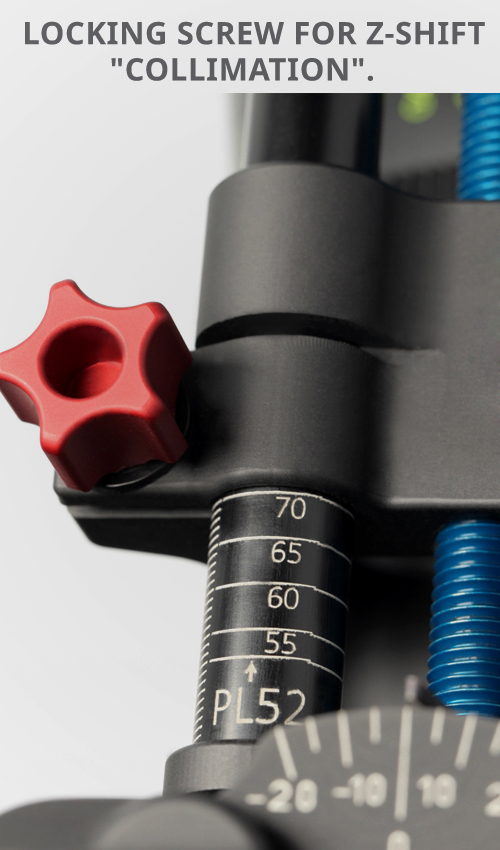
8. Set all Freelensing Cine® settings to “0” (except Z-axis) —> Z-axis adjustment knob to 52mm PL
9. Finish adjusting —> by moving that object closer or further away from the Freelensing Cine® until the object is sharp and in focus.
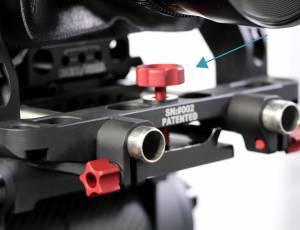
10. Fix all camera peripherals (rods, etc) and tighten the red 3/8 screw located above the serial number, inside a 3/8 hole
11. As of this moment… FREE YOUR LENS, FREE YOUR MIND.
WHAT MOVEMENTS DOES FREELENSING CINE® OFFER?
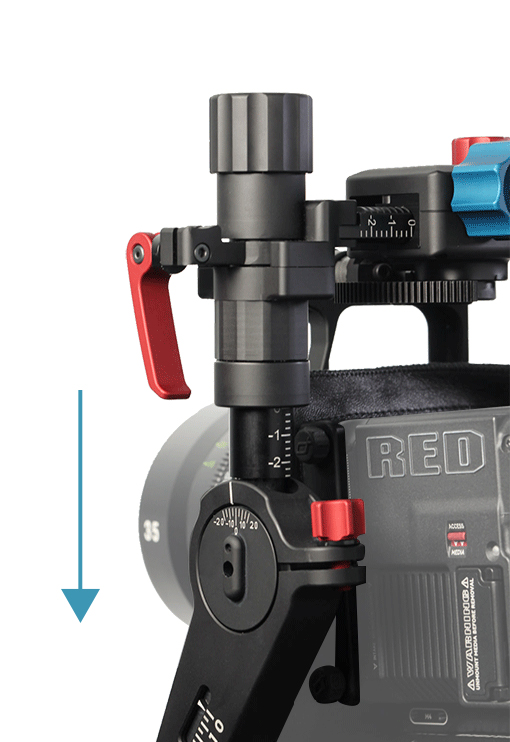
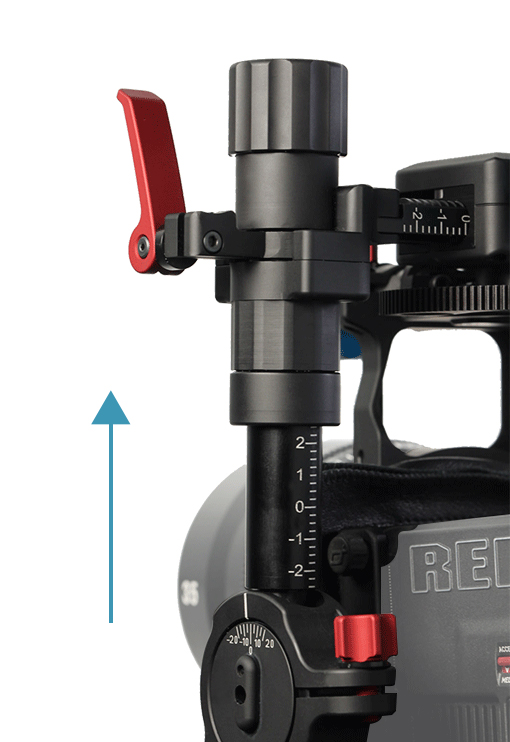
1) Y-AXIS SHIFT OFFSET

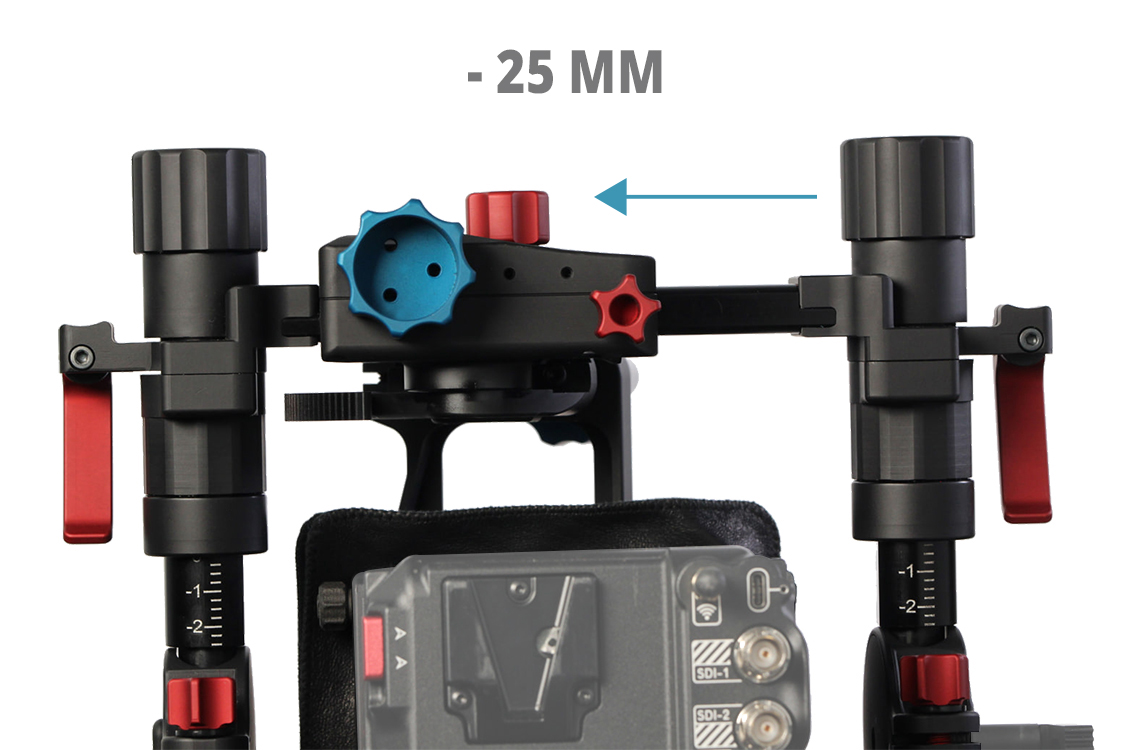
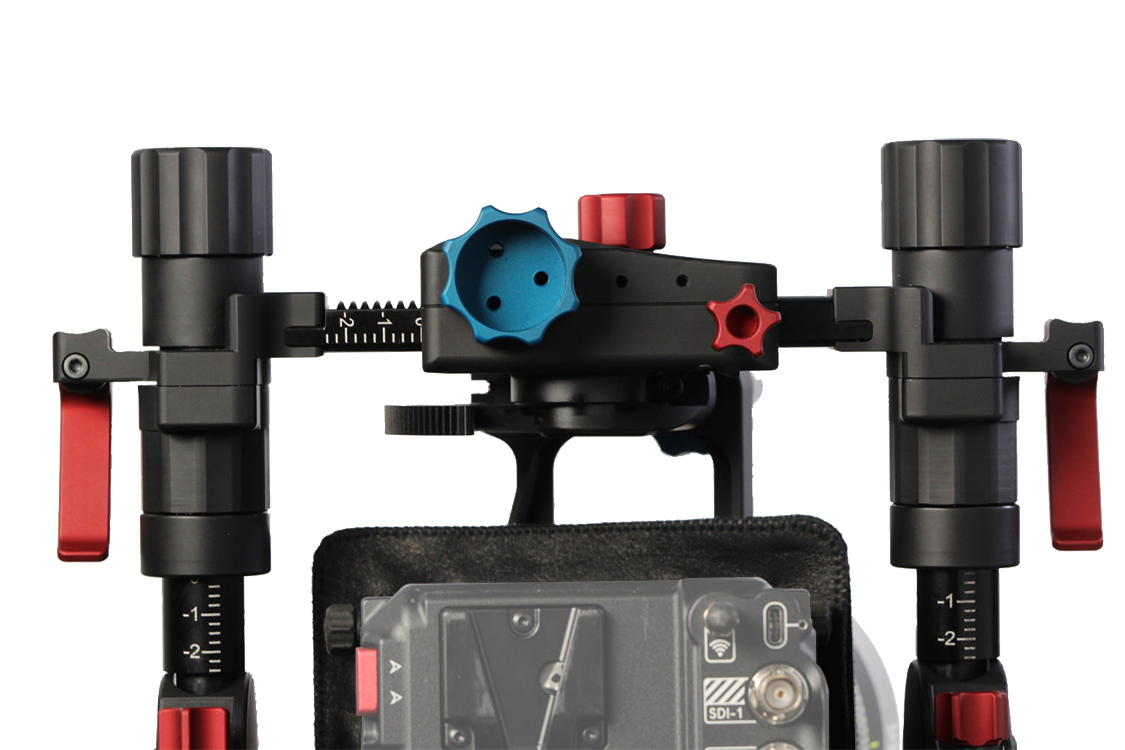
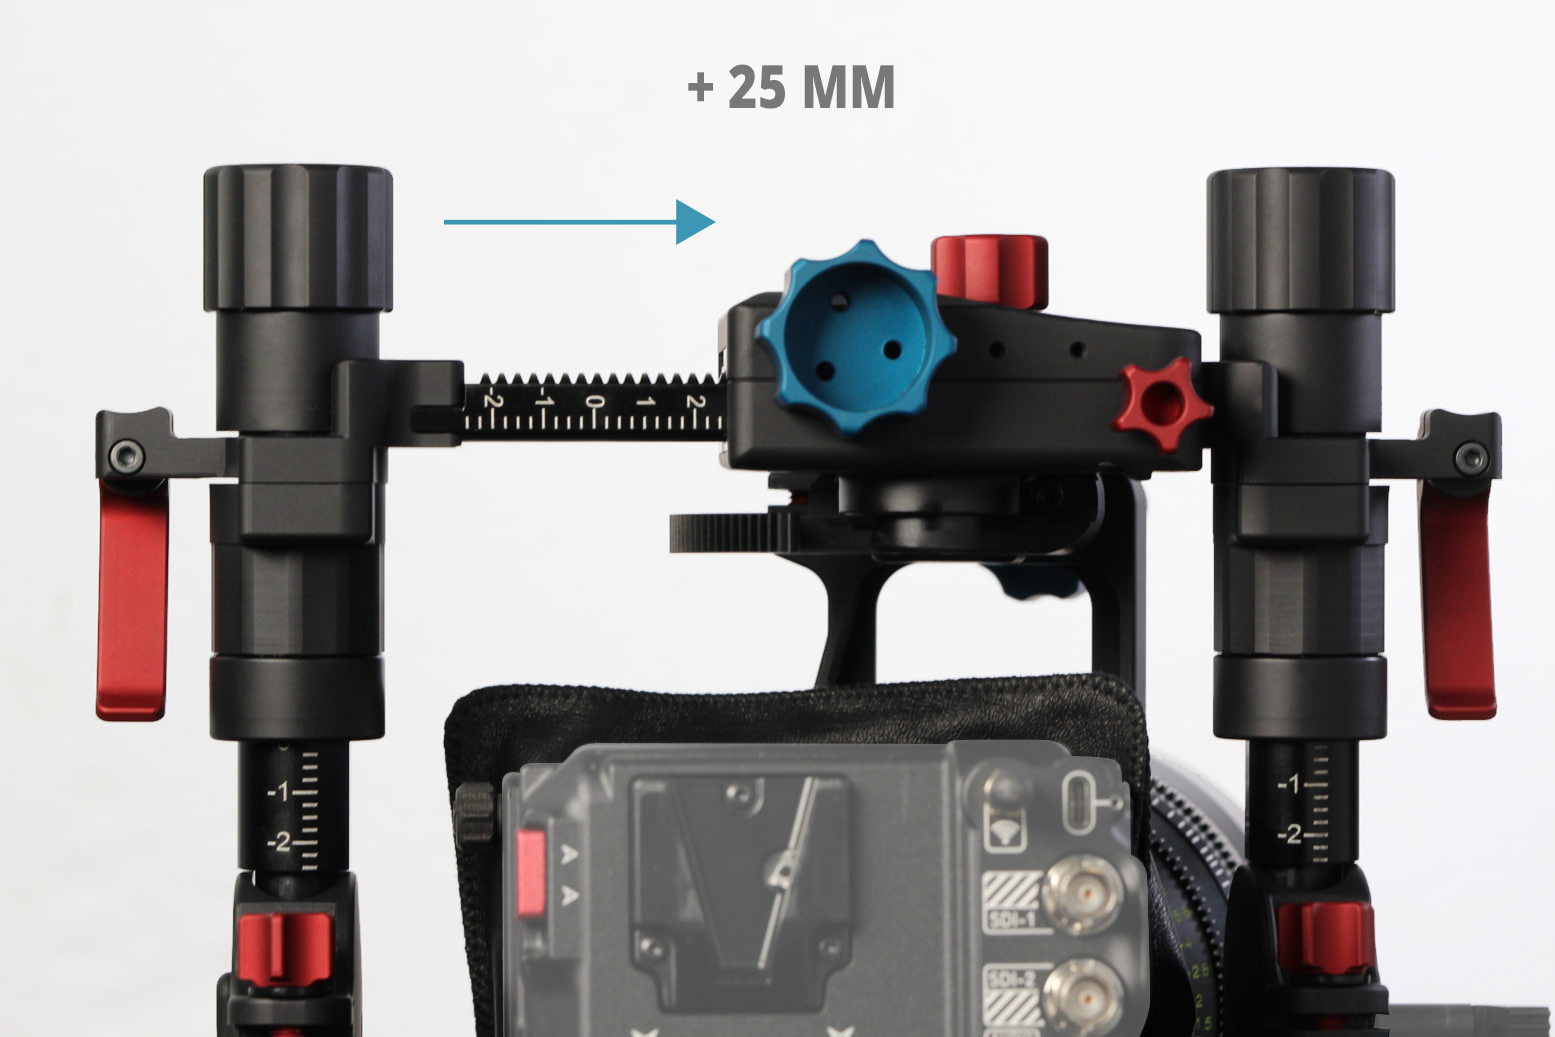
2) X-AXIS SHIFT OFFSET
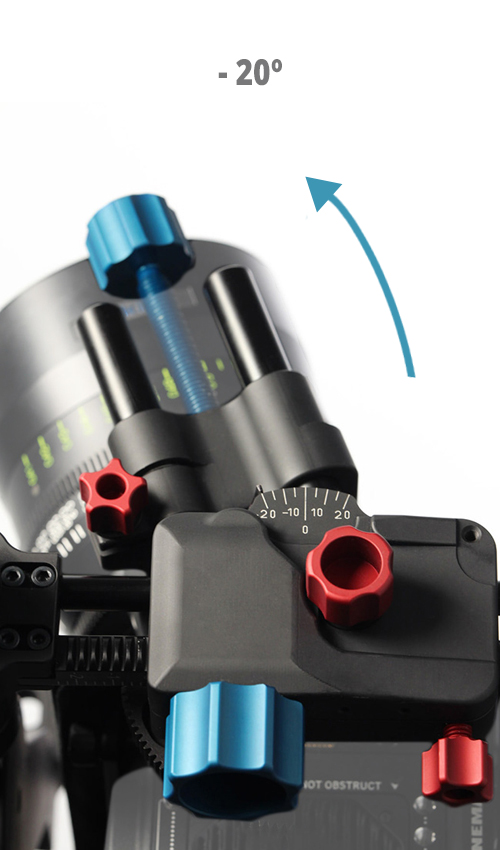
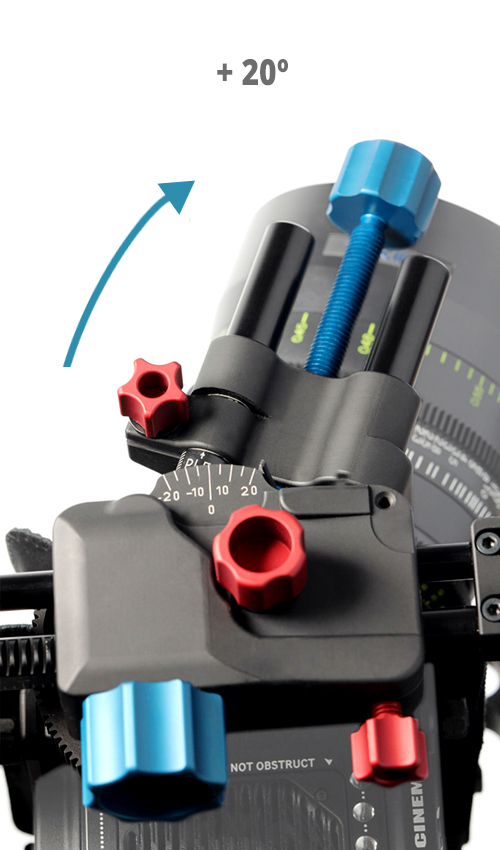
3) Y-AXIS ROTATION (TILT-Y)
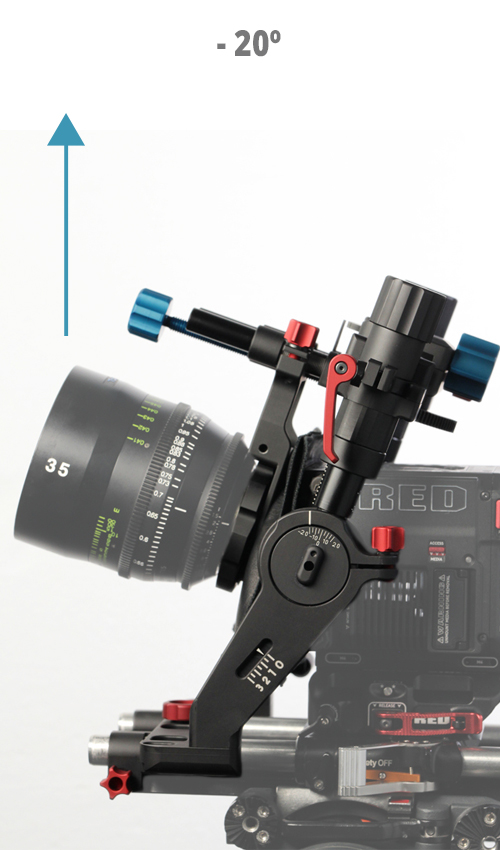
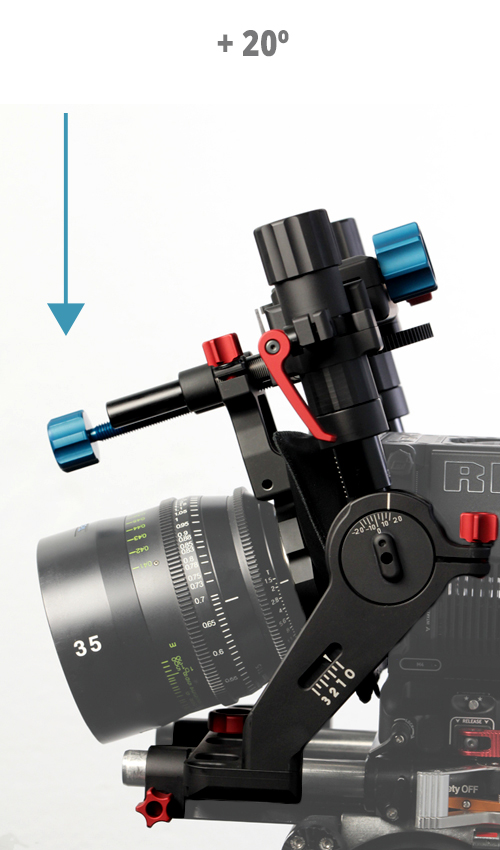
4) X-AXIS ROTATION (SWING-X)
5) Z-AXIS SHIFT OFFSET “COLIMATION”

IF YOU WANT TO KNOW HOW TO PREPARE THE CAMERA WITH THE FREELENSING CINE click HERE